
We’re currently about half-way through the first draft of the new Arado Ar 234 book, so I thought it might be a good time to introduce the author himself: Kent Karlsen. Please check out Kent’s new author profile on our website:


We’re currently about half-way through the first draft of the new Arado Ar 234 book, so I thought it might be a good time to introduce the author himself: Kent Karlsen. Please check out Kent’s new author profile on our website:

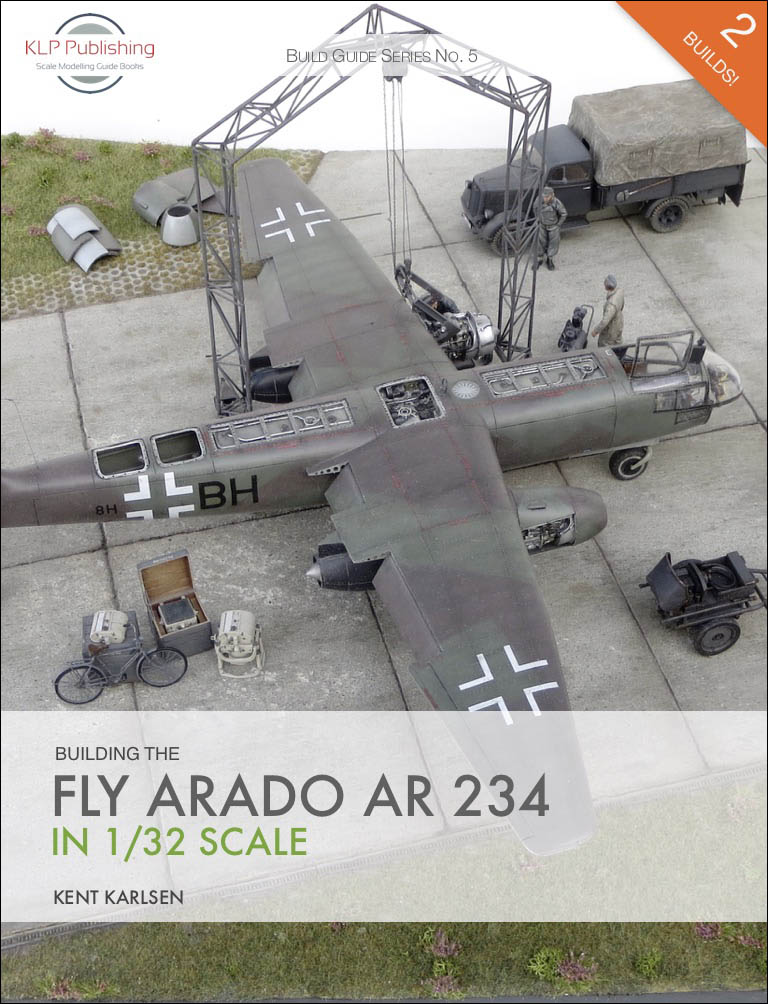
I’m pleased to announce that, after an 8-month hiatus, work has finally begun on our next title: Building the Fly Arado Ar 234 in 1/32 Scale, by Kent Karlsen. Kent builds not one, but two examples of the Fly 1/32 Ar 234 kit, turning one into the V6 4-engine prototype, and the other into a fantastic Ar 234B-2 maintenance diorama.

The book’s bonus build sees Kent replace the kit’s Jumo engines with BMW 003 units, before adding an additional pair of BMW engines to produce the V6 prototype.

The book will detail how Kent tackled both of these builds, including all the aftermarket products used. Speaking of which, there will be our usual appendices that list all of the aftermarket products available, along with decals, paint masks, and relevant reference books.
Building the Fly Arado Ar 234 in 1/32 Scale is due for release some time in late Q2 or early Q3 2020 as an eBook only. Check back here regularly or subscribe to our blog for updates, sample pages, and a definitive release date!

I’m pleased to announce that our second eBook, Building Mac’s Birddog in 1/32 Scale: A Scale Tribute to Macaulay “Mac” Cottrell by Eric Galliers, has now been updated to version 1.1!
First published in September of 2017, we’ve now added Iain Ogilvie‘s review of the Roden kit, and some appendices at the rear of the book detailing available aftermarket items and reference books.
Being a digital publication means this kind of update is very easy to do, and we will continue to update all our books in this fashion any time an applicable new product is released, or we find an error somewhere.
This new update is free to download for anyone who has already purchased this book. If you have an account with us, simply log in and download a new copy of the book from your purchase history. Otherwise, the download link contained in your original purchase notification email should still be valid.
If neither of these scenarios applies to you, and you’d still like to download your updated copy, create a customer account here on the website, and then contact me so that I can associate your purchase with your new account. Once that is done, you can log in and download it from your purchase history.
And of course, if you haven’t purchased Building Mac’s Birddog in 1/32 Scale at all yet, you’re more than welcome to do so!
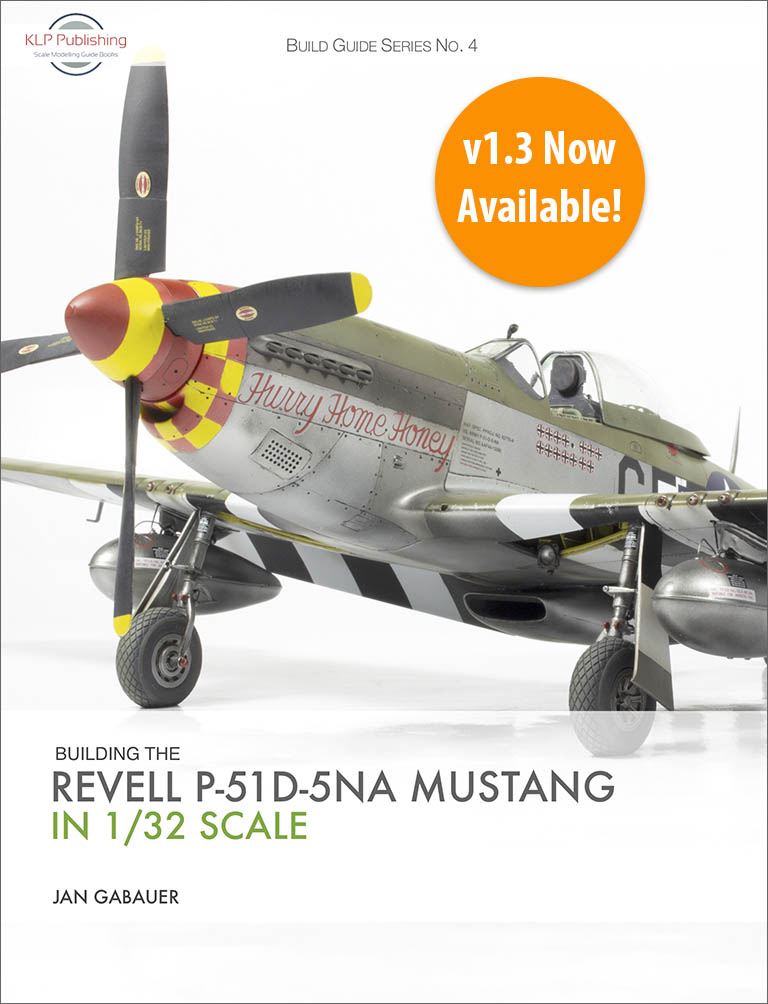
Thanks to eagle-eyed customer Chris Nicoll for spotting a couple of errors in Jan Gabauer’s book, Building the Revell P-51D in 1/32 Scale. These related to the description and link for one of the Eduard aftermarket products included in the back of the book. This has been fixed, and the book has now been updated to v1.3!
Being a digital publication means this kind of update is very easy to do, and we will continue to update all our books in this fashion any time an applicable new product is released, or we find an error somewhere.
This new update is free to download for anyone who has already purchased this book. If you have an account with us, simply log in and download a new copy of the book from your purchase history. Otherwise, the download link contained in your original purchase notification email should still be valid.
If neither of these scenarios applies to you, and you’d still like to download your updated copy, create a customer account here on the website, and then contact me so that I can associate your purchase with your new account. Once that is done, you can log in and download it from your purchase history.
And of course, if you haven’t purchased Building the Revell P-51D in 1/32 Scale at all yet, you’re more than welcome to do so!
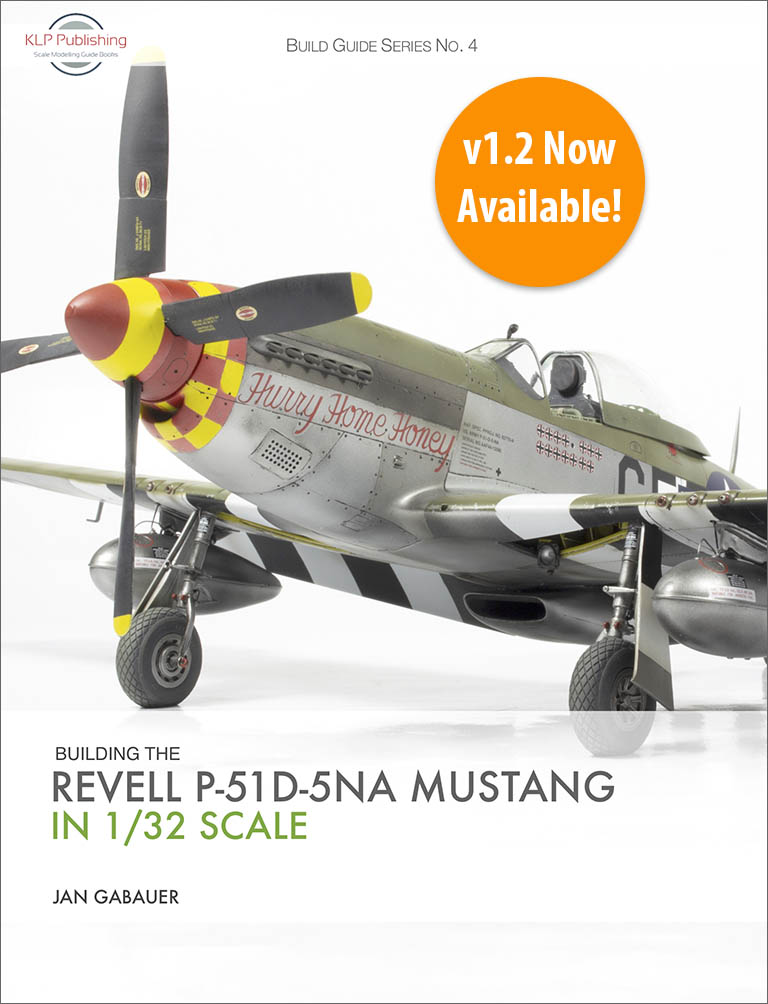
I’m happy to report that Jan Gabauer’s book, Building the Revell P-51D in 1/32 Scale, has now been updated to v1.2! Since this title was initially released in August 2019, some new aftermarket items have been produced for the kit, and these have now been included in the relevant section of the book.
Being a digital publication means this kind of update is very easy to do, and we will continue to update all our books in this fashion any time an applicable new product is released, or we find an error somewhere.
This new update is free to download for anyone who has already purchased this book. If you have an account with us, simply log in and download a new copy of the book from your purchase history. Otherwise, the download link contained in your original purchase notification email should still be valid.
If neither of these scenarios applies to you, and you’d still like to download your updated copy, create a customer account here on the website, and then contact me so that I can associate your purchase with your new account. Once that is done, you can log in and download it from your purchase history.
And of course, if you haven’t purchased Building the Revell P-51D in 1/32 Scale at all yet, you’re more than welcome to do so!
Things have been very quiet of late here at the house of KLP, so I thought it might be prudent to post an update about where things are at, and where they’re heading in 2020.
But first, I feel need to remind everyone that all of our books are indeed digital publications—eBooks in PDF format. There have been a few unfortunate instances in recent times where purchasers have failed to realise this, and I’ve been forced to issue refunds. This results in unnecessary disappointment all around, with the purchaser potentially feeling like they’ve been deceived. This is certainly not our intention! And we’d like to avoid this situation occurring again in the future if at all possible.
For a more detailed explanation about why we chose the eBook path, please see our article Why Digital?

Stepping Down from LSP
Some of you will be aware that I have been the administrator of the Large Scale Planes website and forums since around 2010. While it has been a privilege to serve the LSP community as administrator for the last 10 years, I’ve recently taken the decision to stand down from the position. LSP is a large and very active community, and required anywhere from 20-30 hours per week of my time. This unfortunately left me with insufficient time to work on KLP projects, resulting in a very slow and sporadic release schedule, with books taking far longer to come to fruition than I had planned. As LSP makes the transition to a new leadership regime, and my available time begins to free up, I will be returning to the backlog of book projects with renewed vigour!
Speaking of book projects, there are several in the pipeline already, and a few more potential projects under negotiation. I’ll make the relevant announcements at the appropriate time, but needless to say, I’m looking forward to being able to work on them again, and bring out some more great modelling content.
I’m also open to suggestions for new book topics, so if you have any, you can either email me directly, or leave a comment below. You just never know!
In the meantime, our current catalogue of scale modelling eBooks is still available, so please check them out in our store.


Whenever I find myself in a bit of a modelling funk, and for whatever reason I can’t seem to drag myself to the workbench, I often find it helpful to just grab a kit that’s outside my comfort zone or usual area of interest, and put it together without worrying too much about accuracy or detail. I call this having a modelling holiday, and as often as not I turn to sci-fi subjects for the answer.
Recently I found myself once again in need of such a modelling holiday, and reached into the stash for the Diamond Select Toys 1/8 scale Deadpool figure. It’s a snap-together kit that’s more of a toy than a sophisticated model, but looks the part when completed.


It was certainly good to be back at the workbench again, but now I think it’s time to build some more aircraft!

Just a quick note to let everyone know that I’ve extended our Welcome to 2020 sale by another 24 hours, to accommodate all the possible timezones around our planet. This means it will now finish at the end of the day (midnight) on January 8, AEDST (GMT +11).
Just use the coupon code 2020 at checkout to receive 20% off the total value of your cart.
Thanks to everyone who has supported us during the sale so far—we love your work!

Just a quick note to let everyone know that our Welcome to 2020 sale is now down to its last two days, and will finish at the end of the day on January 7, AEDST (GMT +11).
Simply use the coupon code 2020 at checkout to receive 20% off the value of your cart. Easy!
Please visit our webstore to take advantage of the sale:


And don’t forget that coupon code: 2020.

As we leave the 2010s behind, and prepare to enter what we all hope will be another edition of the “roaring twenties”, we’ve decided to celebrate the coming new year and new decade with a 20% off sale.
Simply use the coupon code 2020 at checkout to receive 20% off the value of your cart. Easy!
The sale starts now, and will run until 7 January 2020—so you have an entire week to grab some bargains!
Please visit our webstore to take advantage of the sale:


And don’t forget that coupon code: 2020.
You must be logged in to post a comment.