Posted on Leave a comment

“Building the Hasegawa Ki-61” Reaches First Draft!

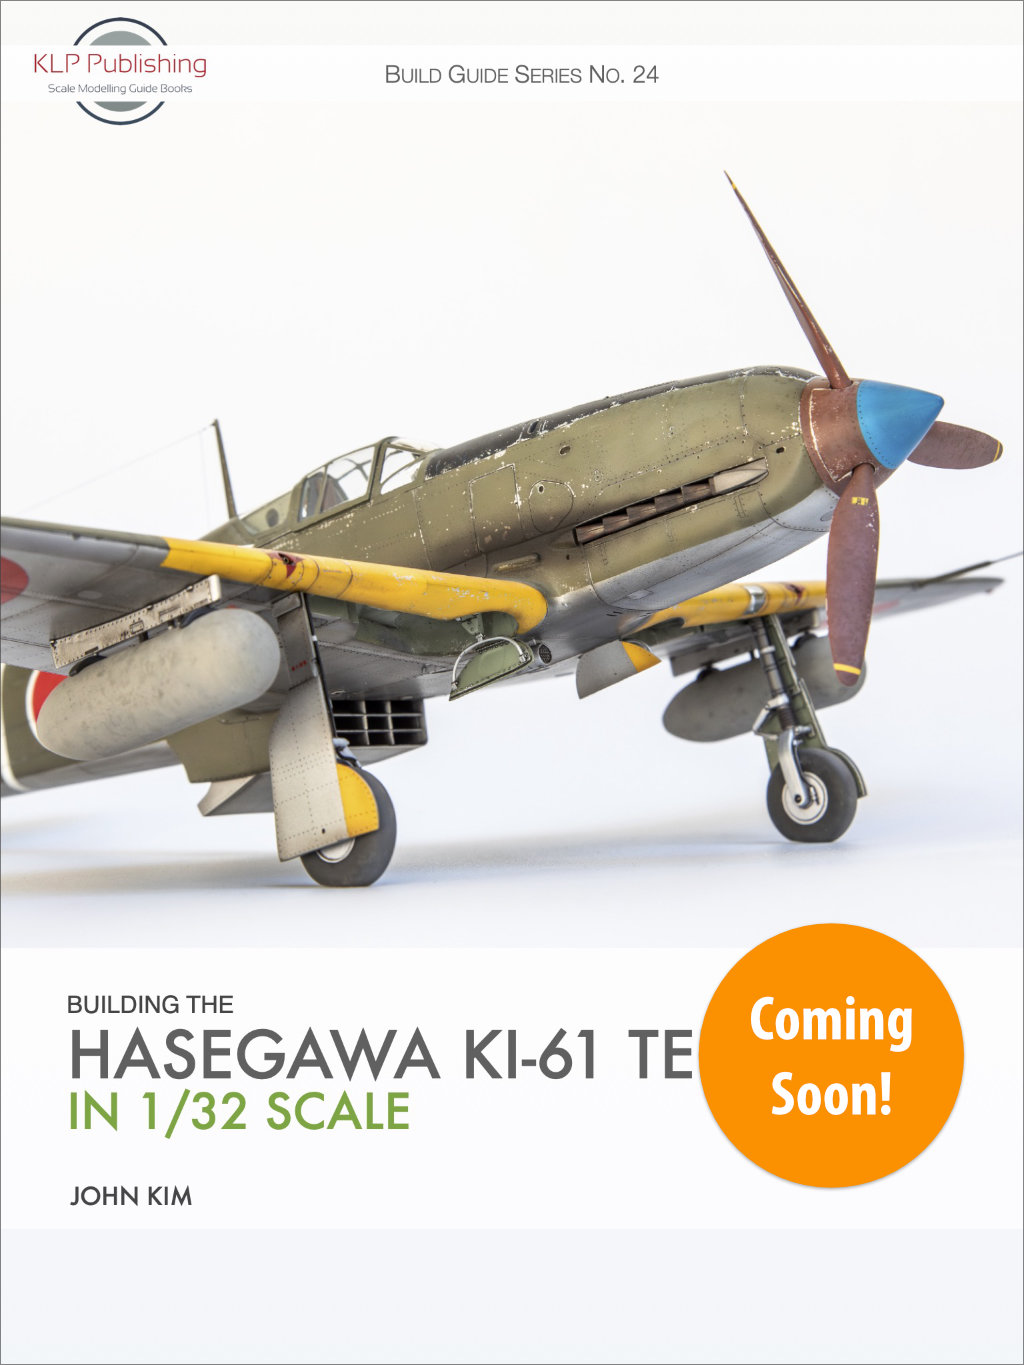
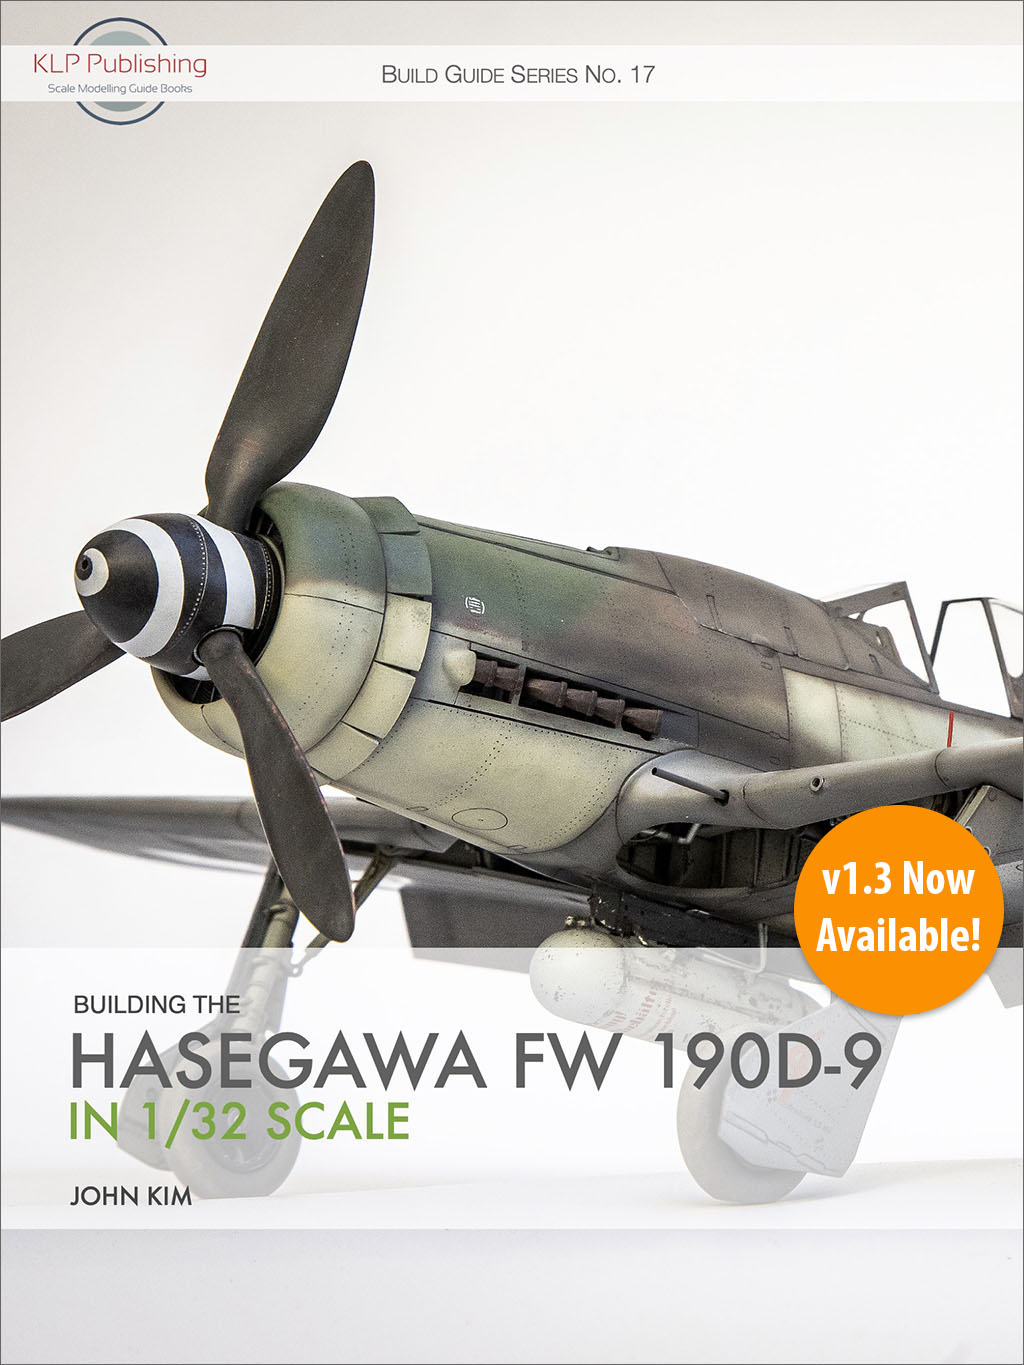
I’m pleased to announce that our next title, Building the Hasegawa Ki-61 Tei Hien in 1/32 Scale by John Kim, has completed the first draft stage. It now enters the final rounds of polishing and editing, and is on track for a formal release either late this month or early January, depending on the vagaries of the holiday season.

Stay tuned for more information by subscribing to our blog if you haven’t already!

And don’t forget that Build Guide Series No. 12 is currently on sale for just 12 Australian dollars:

More soon!

Posted on Leave a comment

Announcing “Building the Hasegawa Ki-61 in 1/32 Scale”!

I’m pleased to announce that work has commenced on our next title, Building the Hasegawa Ki-61 Tei Hien in 1/32 Scale, by KLP author John Kim. The book will not only include a step-by-step guide to John’s terrific build, but also some profile artwork by renowned artist and illustrator, Claes Sundin.

All going well, the book should be available by the end of the year.

And don’t forget our recent releases!

And as always, subscribe to our blog to keep up with all the latest news and release information:

Posted on Leave a comment

Building the Hasegawa P-51D in 1/32 Scale: Part 10

At the end of Part 9, we had the basic paint job done, and were ready for some painted-on markings and decals. Let’s get that done, and get this build over the line!

Since I had planned to paint the fuselage codes and serial numbers, but use decals for the national insignia, the first task was to get a nice gloss coat down in preparation. I appreciated that the whole gloss before decals thing is a contentious one on the modelling Internet these days, but I like to do it anyway as a bit of a security blanket. And the Model Master Olive Drab enamel paint I used had an especially flat and chalky finish.

The national markings are from a Fantasy Printshop set, but were a little bit brittle, so I experienced a bit of cracking here and there. The red demarcations on the flaps were masked and painted. You’ll note that I also painted the base of the antenna on the tail silver.

Next up, the fuselage codes were masked using the set I created and cut earlier using the Silhouette Portrait, and airbrushed with SMS White:

The aircraft name and a handful of stencil decals came from the kit sheet. They weren’t in great shape, so I kept their usage to an absolute minimum. There’s a bit of silvering and some wrinkling to deal with, but nothing a bit more decal solvent didn’t sort out.

The serial numbers were masked and sprayed next, along with fitting the landing gear and prop. A flat coat chased most of the silvering away:

At this point I thought I had an easy ride to the finish line, but guess which dope forgot to remove the interior windscreen masks prior to gluing it into place on the fuselage… I made a right mess getting them out, and managed to knock the gun sight glass off in the process. No way of getting it back in, but at least I managed to remove most of the adhesive residue from inside the windscreen, and hide most of the scratches I made.

One last thing to address before I could call it done: the sliding portion of the canopy. It didn’t really fit properly in the closed position, so I’d have to pose it open (which was the plan all along). But it doesn’t sit properly when slid back, either! As the fuselage narrows towards the read of the cockpit, the front of the canopy obviously doesn’t pinch in to accommodate this, and so just drapes down over the fuselage. So I added a pair of short lengths of styrene strip to act as supports for the front of the sliding canopy:

These did the job admirably:

I painted them Interior Green to get them to blend in as much as possible, and they don’t really stand out on the finished model. You’ll note that I also added a rear-view mirror to the top of the windscreen, which I borrowed from the Tamiya kit, after determining the correct style.

After fitting the final fiddly bits, it was finally done!

Thanks to everybody for following along, and I hope the result meets with your approval. If you’d like to read a much more in-depth account of the process, check out my build thread over on the Large Scale Planes forums.

Until the next one!

Posted on Leave a comment

Building the Hasegawa P-51D in 1/32 Scale: Part 9

When we left off at the end of Part 8, we were just about to embark on the painting stage, after getting a solid coat of primer down (Mr. Finishing Surfacer 1500 Black). I decided to start with the wheel bays:

Now I appreciate that Mustang wheel bays weren’t really interior green, but out of expedience, this one will be. I’m also going to fit the inner clamshell doors in the closed position to help hide as much of them as possible, since they’re totally inaccurate anyway.

I also decided that I would try painting the national insignia first, using the Montex mask set I had purchased. The reasoning here is that this would make it easier to hide the white fringing that you often see with painted markings that are laid over a white base layer. This didn’t go well however, as I discovered I’d put the upper wing insignia on the wrong side:

Luckily I had made backup versions of the insignia masks using my Silhouette Portrait cutter. But even after correcting this rookie error, I was far from satisfied with the results, and repeated attempts gave me issues that ranged from distorted insignia to paint lifting, and even one that turned out to be well oversized! In the end, I reluctantly decided to resort to decals for the national insignia, but paint the codes and serials.

Skipping all the grievous updates that show my stupid mistakes, I finally arrived at a successful application of Mr. Hobby H-53 Neutral Grey on the undersides:

This was followed by Olive Drab from an ancient bottle of Model Master enamel paint I had in the stash (the only example of such a colour I had):

In each case I applied the paint with a mottling technique, designed to give a subtly variegated effect. I think I went a little too far with it, and the end result is a little too uniform, but it’s effective enough.

It was at this point that I took another long break from the build, and it found itself back on the Shelf of Doom. By the time I returned to it in early 2024, I was on a mission to just get it done, so things accelerated rapidly, and it was all over pretty quickly. But we’ll deal with that in the next update! It’ll be a longer one, but we’ll bring this thing home in the process.

Stay tuned!

Posted on Leave a comment

Building the Hasegawa P-51D in 1/32 Scale: Part 8

It’s been a long time since I published Part 7 of this build log, with the model once again finding itself back on the Shelf of Doom—even if only temporarily. It was, eventually, returned to the workbench and finished off earlier this year (2024), so I’ll endeavour to catch you all up in as few posts as possible!

The build had now evolved to the point where I felt it was safe to put a coat of primer down, and in this case it was Mr. Finishing Surfacer 1500 Black, thinned from the jar and applied with an airbrush:

I also added some token canopy rails from Evergreen styrene strip—partly to help hide the joint problems in that area, and partly because it’s very plain, and will be highly visible with the canopy slid back:

The other thing I decided to do is something I should have tackled way earlier in the build, and probably prior to assembling the fuselage: represent the AN/APS-13 tail warning radar antenna on the fin. I figured this wouldn’t be much of a problem…until I tried to do it! My initial idea was to simply drill holes on each side at the appropriate locations, and insert suitably sized wires to do the job. I’ll spare you the gory details, but after a long series of ham-fisted mishaps, this approach proved to be an abject failure, and mostly due to poor planning and execution on my part. Suffice to say I broke a good half-dozen micro drill bits in the attempt. 

And then I had a bright idea! (Anybody worried, yet?) The Tamiya kit has this antenna array as a single piece of photo-etched stainless steel, so I thought I might be able to use it here on this build, and save me some pain. So I set about joining up my ill-fated holes to form a pair of slots, into which I could insert the Tamiya photo-etched part:

I secured it initially with a liberal dose of Mr. Cement S, which melted the plastic to the tiny PE and grabbed it nicely. I then flooded the area with some thin CA. The next step was to pack out the nasty gouges on each side with some Milliput:

It took a bit of effort to clean the area up and smooth it out, but at least this important detail was taken care of. And of course, I put the antenna in backwards!

After another application of primer, it at least looked passable:

Like much of what I do at the workbench, my attempt to use primer to build up the mounting plate for the fin antenna didn’t quite go to plan:

At least the other side was better:

The sliding hood was masked off inside and out using the Montex masks. These required some additional help in the form of liquid masking fluid—in this case, Mr. Masking Sol Neo. I’m not a huge fan of the stuff, but at least it’s easy to get off.

If I had any doubts about having the canopy open on this one, a proper test fit with the token slide rails in place shows that the sliding hood wasn’t tall enough to meet the canopy anyway:

This brings us up the painting stage, which we’ll take a look at in Part 9. Stay tuned!
Posted on Leave a comment

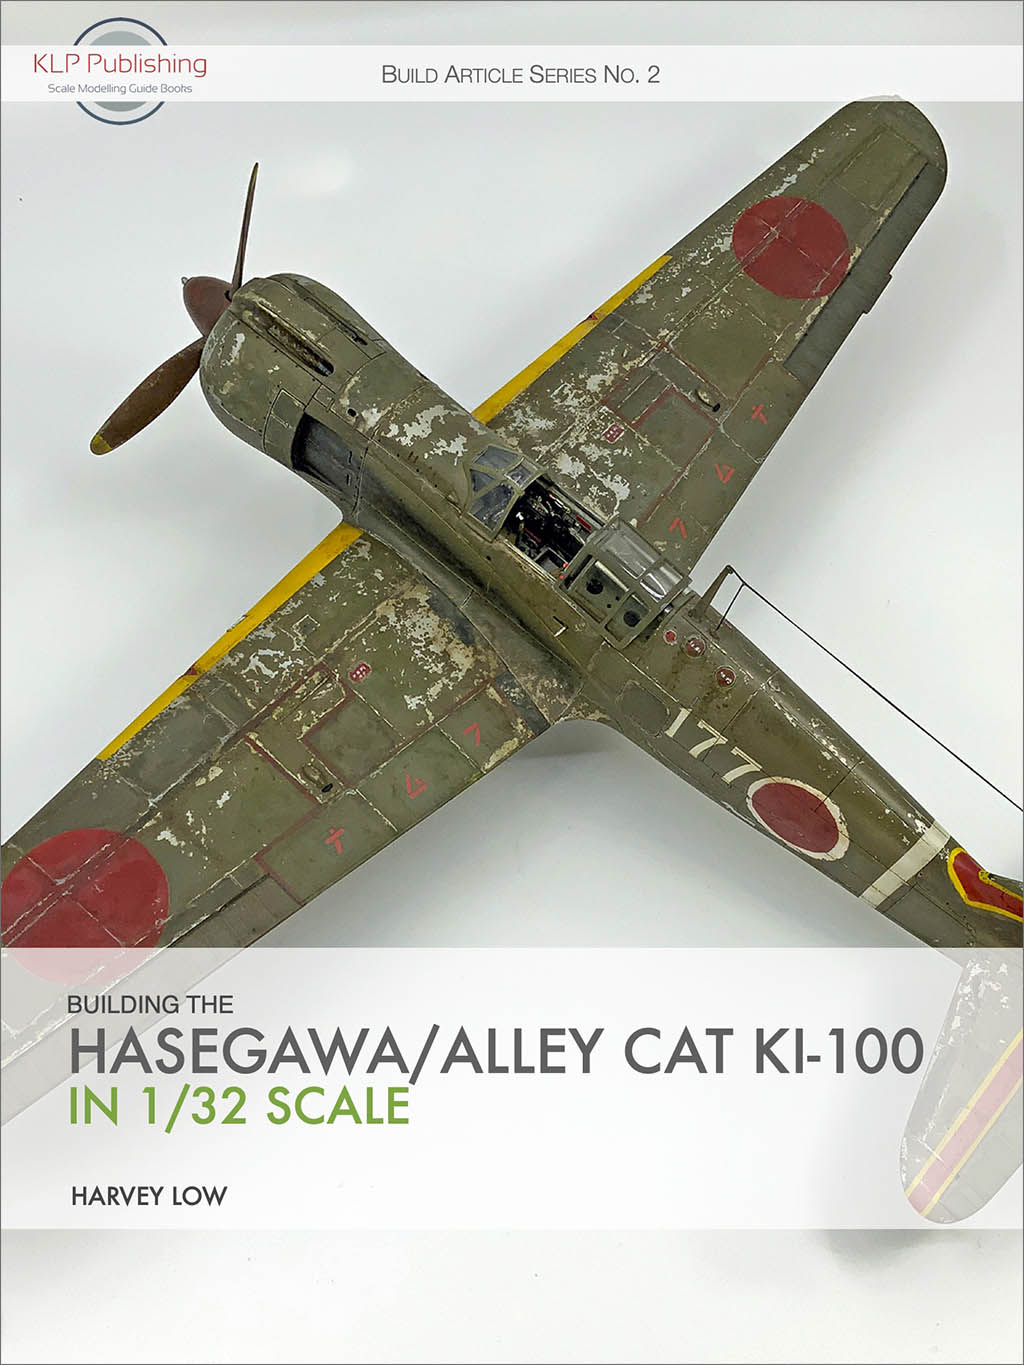
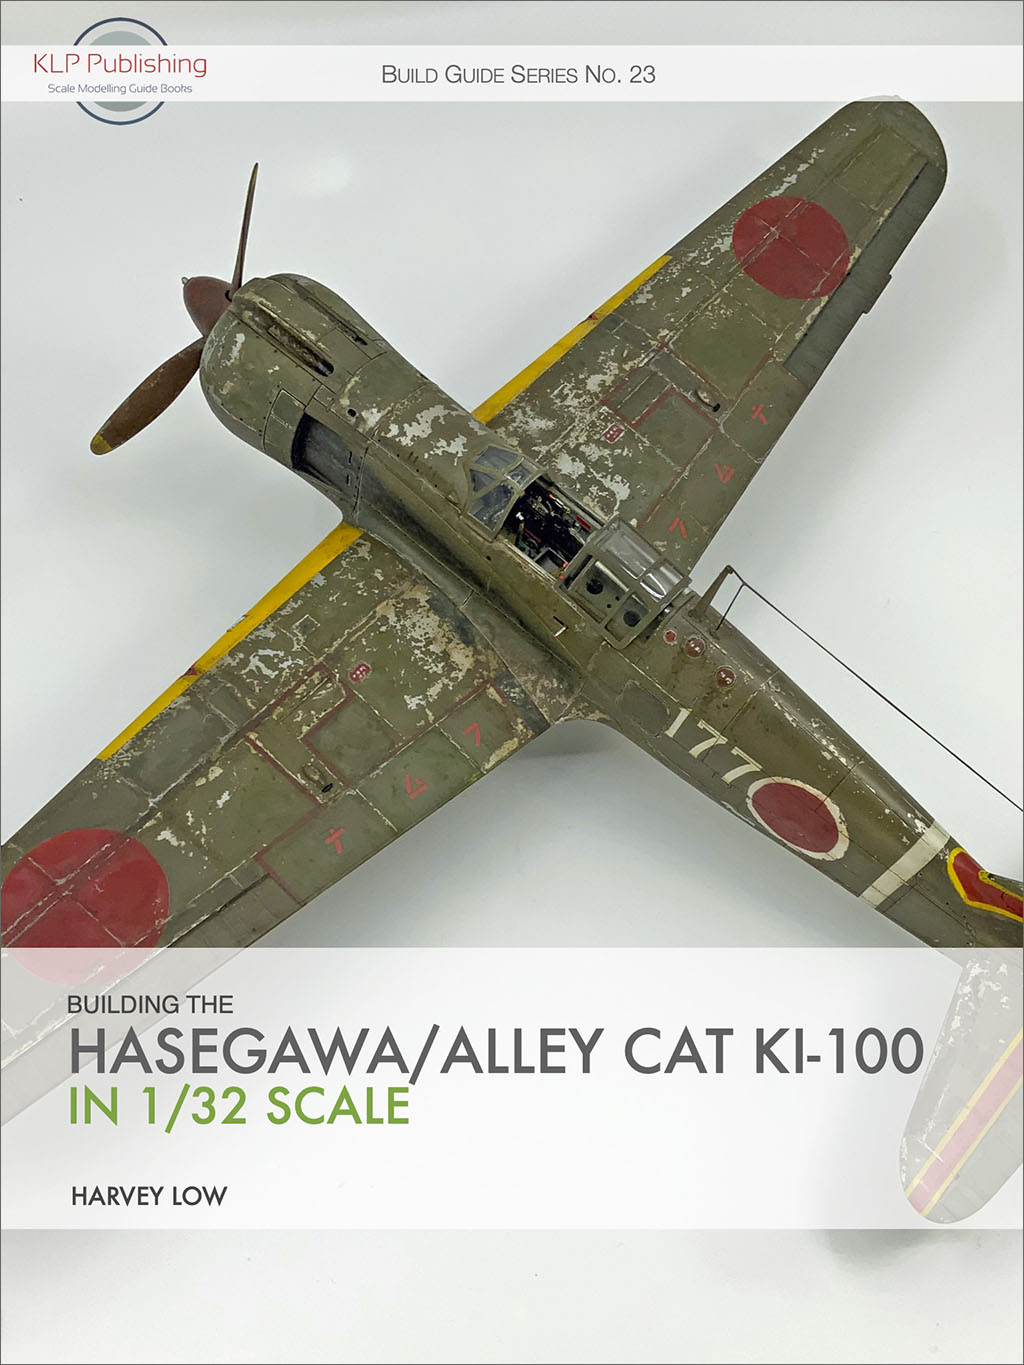
“Building the Hasegawa/Alley Cat Ki-100 in 1/32 Scale” is Now Available!

I’m pleased to announce that our latest title, Building the Hasegawa/Alley Cat Ki-100 in 1/32 Scale, is now available!

In this 54-page eBook, renowned modeller Harvey Low combines the Hasegawa 1/32 Ki-61 kit with the Alley Cat conversion set to produce a stunning model of the Kawasaki Ki-100. Harvey guides you through the construction and painting of the model, not only outlining his weathering and finishing techniques, but also detailing his custom paint mix for the upper surface green colour (ANA #7).

As a bonus, we’ve also included the cut files for the paint masks that Harvey created for painting the fuselage codes on the model. These are provided in DXF, Studio3 (for the Silhouette platform), PDF, and SVG formats.

The book is available for immediate purchase and download from our website for a mere 10 Australian dollars.

Posted on Leave a comment

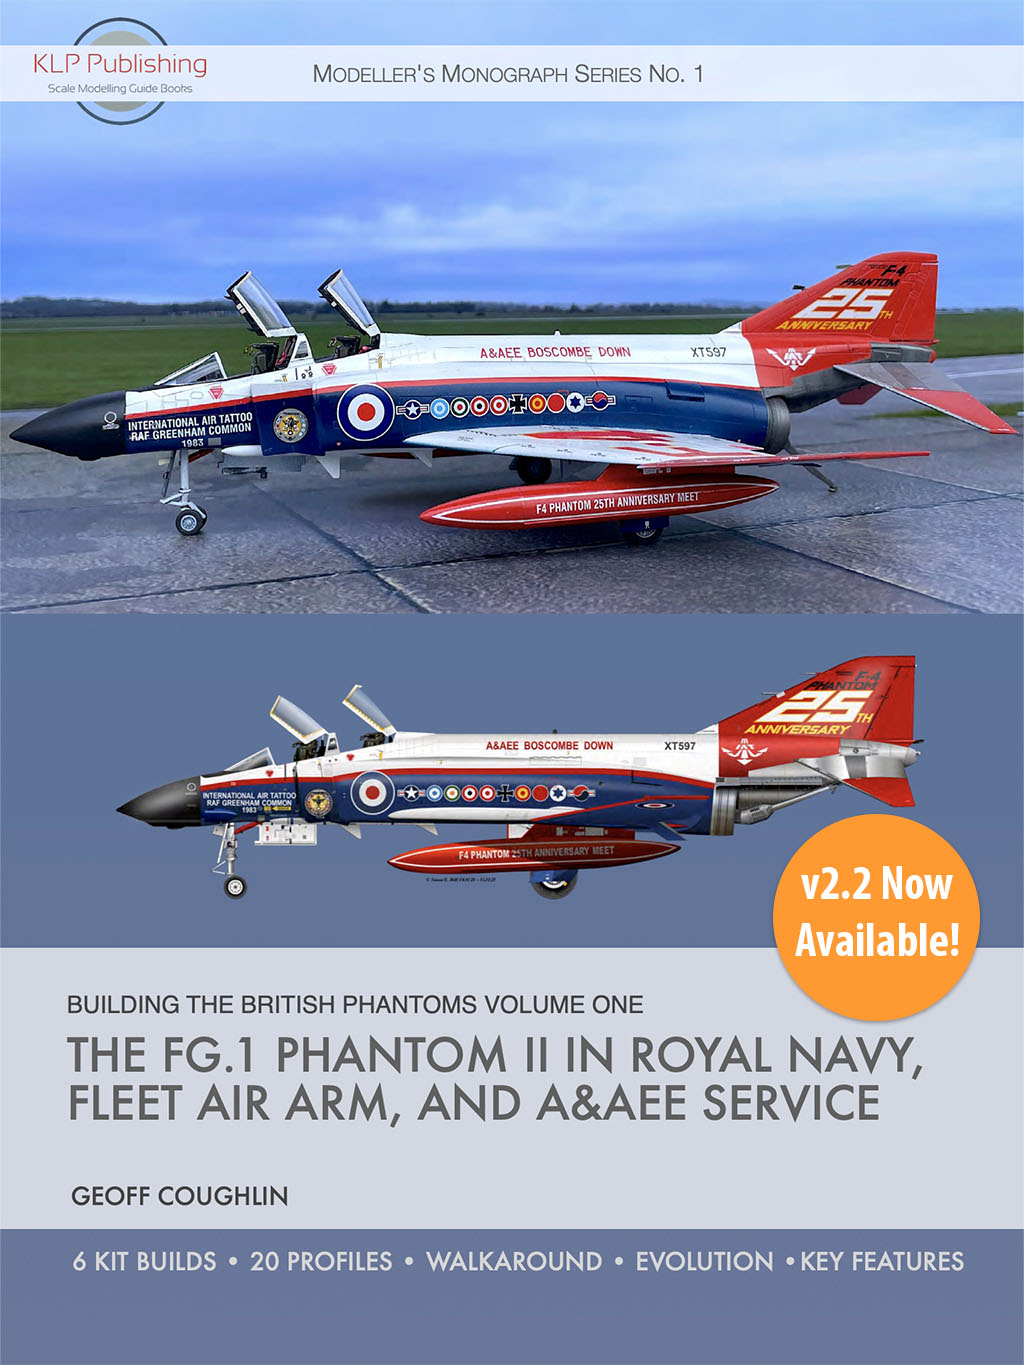
v2.2 of “Building the British Phantoms Vol. 1” Now Available and On Sale!

I’m pleased to announce that one of our most popular titles, Building the British Phantoms Volume One, has just been updated to v2.2, and for the next 7 days, has been reduced to just 15 Australian dollars!

Thanks to eagle-eyed customer Stuart Wallis, a small number of errors in some of the photo captions has been corrected, along with some refinements in the typography. Due to these corrections, this is considered an important update, and should be downloaded to replace any earlier version at your earliest convenience.

This a free update for all existing purchasers, and of course new purchasers will always receive the latest version of any of our books.

In order to obtain your free update, simply re-download the book using either the original download link in your Order Confirmation email, or log in to your KLP account and download it from the Downloads section of your profile. If you don’t have either, please contact me and we’ll sort it out.

Posted on 2 Comments

Announcing “Building the Hasegawa/Alley Cat Ki-100”!

I’m pleased to announce that the next title in our Build Guide Series will be Building the Hasegawa/Alley Cat Ki-100 in 1/32 Scale, by Harvey Low. In this book, Harvey will show you how to combine the Hasegawa 1/32 Ki-61 kit with the Alley Cat Ki-100 resin conversion set, and how to paint and weather it to produce a realistic late-war Japanese fighter.

Stay tuned for more information as it comes to hand!

And don’t forget our other recent titles:

Posted on Leave a comment

v1.3 of “Building the Hasegawa Fw 190D-9” Now Available!

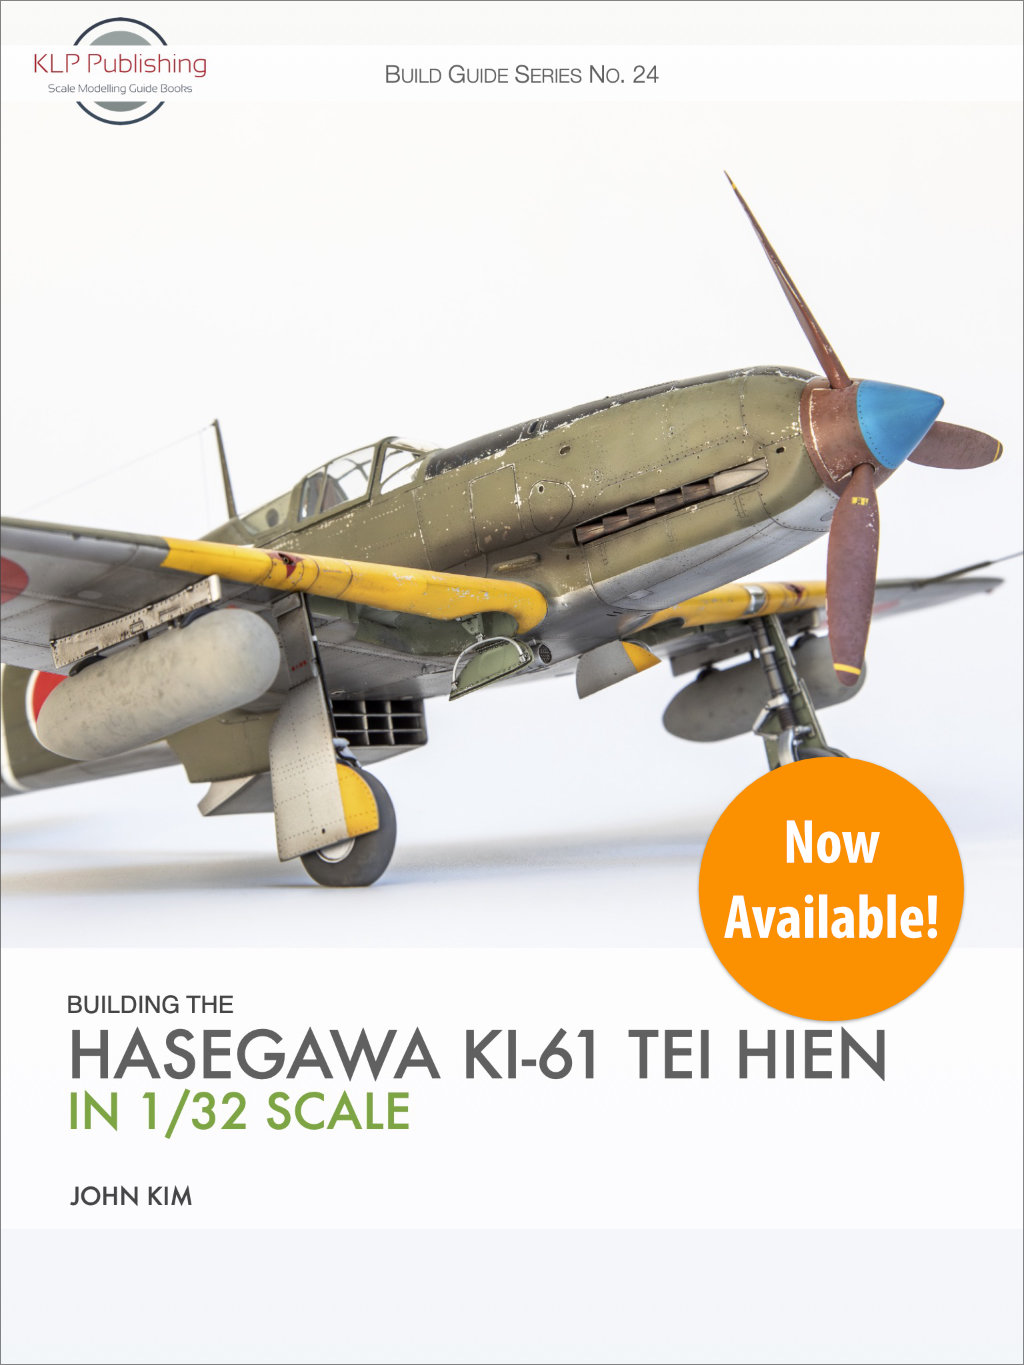
Every now and then I have the misfortune of discovering an error or flaw in one of our books. Such was the case today with Build Guide Series No. 17, Building the Hasegawa Fw 190D-9 in 1/32 Scale, by John Kim. It seems that a few images in the Appendices didn’t make it through the PDF production stage for some reason. These have been restored now, and along with some additional layout and typographical updates, this has culminated in the immediate availability of v1.3!

Not only that, but as part of our current Christmas Sale, it’s also available for 20% off by using the coupon code XMAS23 at checkout.

This update is free for all existing purchasers, so if you’ve already bought and downloaded the book, we encourage you to grab it again by simply re-downloading it—either from your account if you have one, or by using the original download link in your order confirmation email. If you don’t have either of those things, please contact me and we’ll sort it out. New purchasers will always receive the latest version.

Stay tuned for more news soon!

Posted on Leave a comment

Building the Hasegawa P-51D in 1/32 Scale: Part 7

When we left off at the end of Part 6, I’d just finished preparing the kit’s windscreen, having decided to use it in preference to the Squadron vacuform part. The next step, logically enough, was to glue it into place and deal with the inevitable seams with some Mr. Surfacer 500 dabbed along the join with an old paint brush:

This was allowed to dry for 24 hours, and then the excess was cleaned up with a cotton bud moistened with Mr. Color Thinner. A quick spritz with Mr. Finishing Surfacer 1500 Black revealed that some additional work was required, which at this stage is still a work in progress! (In the photo above, you can see that I’ve assembled the kit’s sliding canopy, but its purpose here is purely to protect the cockpit, as it will be replaced by the Squadron vacuform component.)

Speaking of the Squadron vacuform canopy, I decided now would be a good time to tackle the sliding hood, which is a vast improvement over the clunky two-piece kit solution. Having already removed the windscreen from the backing sheet, I trimmed around the sliding hood with a sharp pair of scissors:

After a bunch of careful work with scissors, a hobby knife, some wet’n’dry and some sanding sticks, I arrived at this:

And a quick test-fit onto the fuselage:

It sits slightly low against the windscreen, and the easiest way to deal with that is to pose it open! However, this leaves me with the same problem I had with the vac windscreen: the material is too thin. I decided to bulk out the forward frame with some styrene strip:

The next steps will be to mask this piece inside and out, and get some black paint on the internal framing. After that, whatever internal detailing I can be bothered with will be added! But that’s for another update.

At this point I figured I’d turn my attention to the main landing gear, and the first task was to prepare the True Details resin wheels:

This is an old school set that features this company’s infamous exaggerated tyre bulges, so once they were removed from their casting blocks, I set about reducing these bulges to a much more realistic level:

The moulded-in flat spots are enough to convey the required impression of “weight on wheels”, and are in fact enough to allow the wheels to stand upright on their own. Painted up with the aid of wheel masks from the Montex set, they look the part:

This left the landing gear legs to do, each of which required some brake lines to be added. My first attempt was a total failure, so I stripped everything off and started again, finally arriving at the result below:

So we have some guitar string, some lead wire, some ANYZ braided wire and 3D-printed connectors, along with some heat-stretched cotton bud stems, and a few bolt head details from styrene rod. This was a challenge for my fading eyesight and complete lack of finesse, but I got there in the end. The tyre hubs have also had an oil wash in the interim. Note that I pre-painted and masked the oleo pistons prior to adding the brake lines. This made the masking tape quite difficult to remove after the fact!

It was all worth it, however, as the fully painted final result came out quite well:

The data placards came from the Eduard exterior detail set. Decals would have been a better solution, but I wanted to give these a try, and am happy enough with how they turned out.

And this brings us to the end of this update! Stay tuned for Part 8, where I hope to finish off the sliding canopy hood, and finally start the painting phase.