Posted on Leave a comment

Building the Hasegawa P-51D in 1/32 Scale: Part 7

When we left off at the end of Part 6, I’d just finished preparing the kit’s windscreen, having decided to use it in preference to the Squadron vacuform part. The next step, logically enough, was to glue it into place and deal with the inevitable seams with some Mr. Surfacer 500 dabbed along the join with an old paint brush:

This was allowed to dry for 24 hours, and then the excess was cleaned up with a cotton bud moistened with Mr. Color Thinner. A quick spritz with Mr. Finishing Surfacer 1500 Black revealed that some additional work was required, which at this stage is still a work in progress! (In the photo above, you can see that I’ve assembled the kit’s sliding canopy, but its purpose here is purely to protect the cockpit, as it will be replaced by the Squadron vacuform component.)

Speaking of the Squadron vacuform canopy, I decided now would be a good time to tackle the sliding hood, which is a vast improvement over the clunky two-piece kit solution. Having already removed the windscreen from the backing sheet, I trimmed around the sliding hood with a sharp pair of scissors:

After a bunch of careful work with scissors, a hobby knife, some wet’n’dry and some sanding sticks, I arrived at this:

And a quick test-fit onto the fuselage:

It sits slightly low against the windscreen, and the easiest way to deal with that is to pose it open! However, this leaves me with the same problem I had with the vac windscreen: the material is too thin. I decided to bulk out the forward frame with some styrene strip:

The next steps will be to mask this piece inside and out, and get some black paint on the internal framing. After that, whatever internal detailing I can be bothered with will be added! But that’s for another update.

At this point I figured I’d turn my attention to the main landing gear, and the first task was to prepare the True Details resin wheels:

This is an old school set that features this company’s infamous exaggerated tyre bulges, so once they were removed from their casting blocks, I set about reducing these bulges to a much more realistic level:

The moulded-in flat spots are enough to convey the required impression of “weight on wheels”, and are in fact enough to allow the wheels to stand upright on their own. Painted up with the aid of wheel masks from the Montex set, they look the part:

This left the landing gear legs to do, each of which required some brake lines to be added. My first attempt was a total failure, so I stripped everything off and started again, finally arriving at the result below:

So we have some guitar string, some lead wire, some ANYZ braided wire and 3D-printed connectors, along with some heat-stretched cotton bud stems, and a few bolt head details from styrene rod. This was a challenge for my fading eyesight and complete lack of finesse, but I got there in the end. The tyre hubs have also had an oil wash in the interim. Note that I pre-painted and masked the oleo pistons prior to adding the brake lines. This made the masking tape quite difficult to remove after the fact!

It was all worth it, however, as the fully painted final result came out quite well:

The data placards came from the Eduard exterior detail set. Decals would have been a better solution, but I wanted to give these a try, and am happy enough with how they turned out.

And this brings us to the end of this update! Stay tuned for Part 8, where I hope to finish off the sliding canopy hood, and finally start the painting phase.

Posted on Leave a comment

Building the Hasegawa P-51D in 1/32 Scale: Part 6

I last posted an update for this build back in June of 2022, and since then, things have been a little quiet at the workbench. I’m pleased to report, however, that there has been some recent progress, so let’s catch up!

After having finished the propeller, I started the process of painting the main airframe, and this began with the chequered nose. After masking off the exhaust stacks, I used the same SMS RLM04 yellow that I’d used on the spinner to lay down a base coat around the nose:

To create the chequers, I scanned the kit decals, imported them into Silhouette Studio, and using the auto-trace function, turned them into cut files that I could output to my Silhouette Portrait cutter. This was a somewhat fiddly and time-consuming process, but the results were worth the effort. Once cut, I applied the chequers to the model, masking out the yellow squares I wanted to keep:

This was followed by a quick dose of SMS Red, put on without any additional thinning:

And the result:

As expected, the vinyl masks didn’t conform all that well around the chin intake area, leaving things a bit untidy:

After applying the necessary touch-ups, I gave the whole area a gloss coat to protect the paint from subsequent masking. I couldn’t resist a test-fit of the prop while I was at it!

Of course, we’re a long way from the painting stage just yet, as I need to deal with the canopy—and in this case, it involves the Squadron vacuform replacement, which is far superior to the kit part. But it also comes with all the challenges that vacuform canopies present in terms of cutting them free of their backing sheets!

With older kits especially, I generally like to attach windscreen parts prior to the painting stage, so that I can address any fit issues and make them appear as part of the airframe, rather than simply stuck on. Below is the Squadron vacuform windscreen test-fitted to the airframe:

The fit is OK, though it will still need some work. I felt, however, that the part itself was actually too thin for scale, which surprised me somewhat. Here it is in comparison to the kit part:

The kit windscreen, while correspondingly too thick for scale, still presented a more credible appearance to my eye, so—much to my own bemusement—I opted to use it instead of the vac part!

Having made that decision, the next step was to mask it, in preparation not only for the painting stage, but also to protect it from any work that might need to be done to ensure a good fit (filling, sanding, etc). On this occasion, however, my normally reliable, tried-and-true methods for canopy masking all let me down! I usually consider myself pretty adept at this task, but this time around, I had to relent and do something I normally don’t do: buy canopy masks! I opted for the full Montex set, which was pretty much all I could find that included canopy masks designed specifically for this kit:

This has, so far, been the only deviation from my original only what’s in the box mantra for this build. Sometimes, you just have to get out of your own way!

So, the windscreen was duly masked up, and test-fitted onto the airframe:

It was at this point that I realised that I’d completely forgotten about the gunsight! A decent resin example is provided as part of the Grand Phoenix cockpit set, so I painted it up, added the reflector glass from clear acetate packaging material, and installed it in place:

Of course, it turns out that it should be black, not light grey, but by the time I discovered this, the windscreen had been glued in place, and it was too late. That’s model building, sometimes! It still looks OK though, I think:

Note that the interior of the windscreen was sprayed black prior to installation.

So, that’s it for this update. Next time, we’ll finish off canopy work, get the main landing gear finished, and make a start on the paint work.

Until then!

Posted on Leave a comment

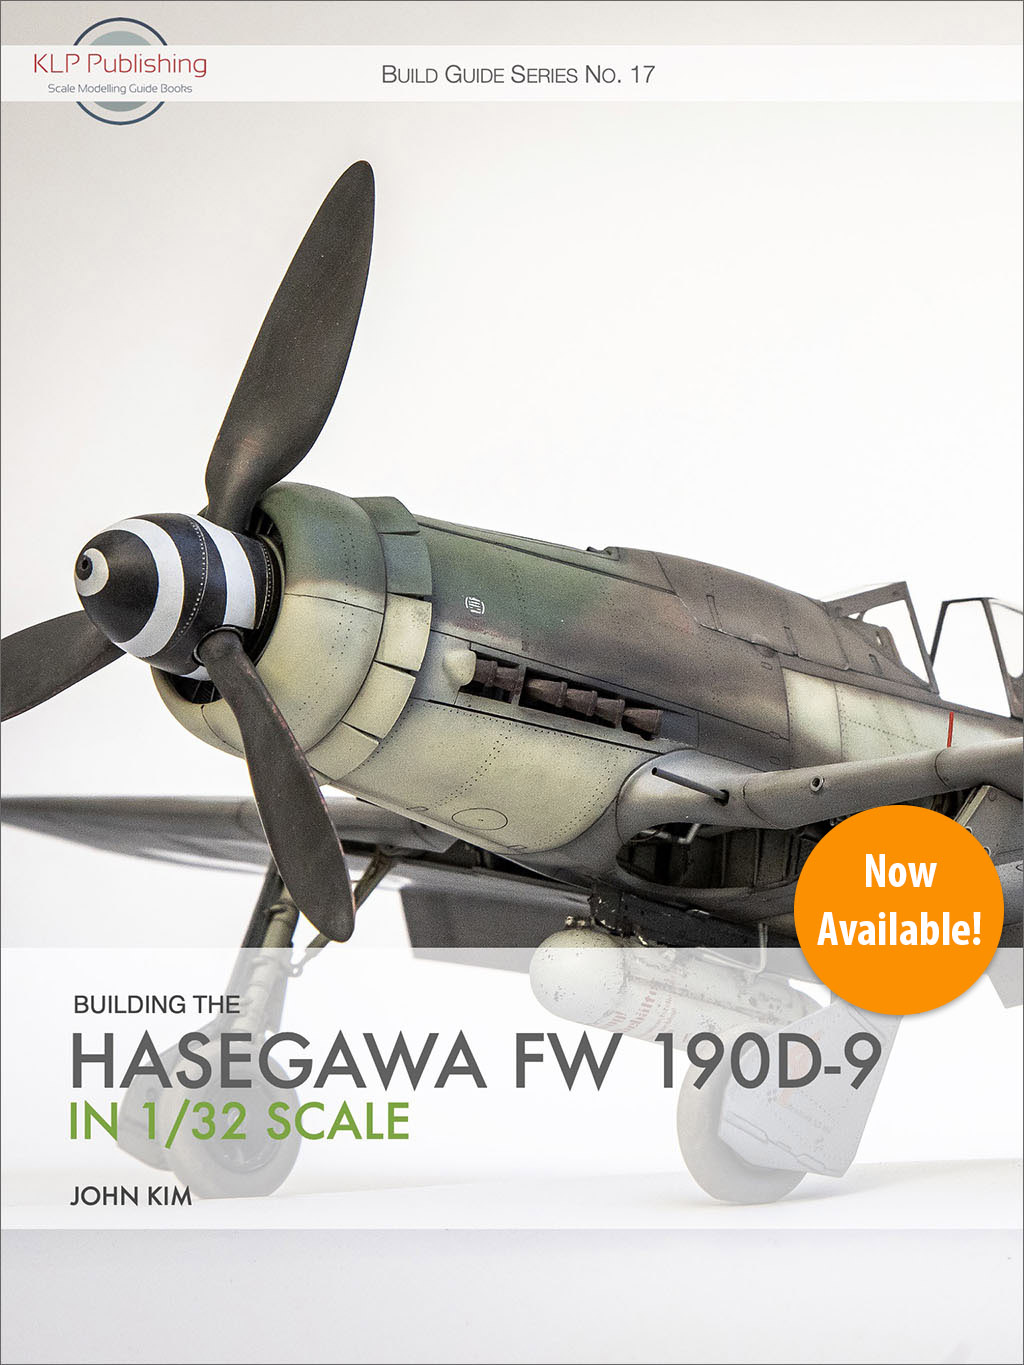
“Building the Hasegawa Fw 190D-9 in 1/32 Scale” Now Available!

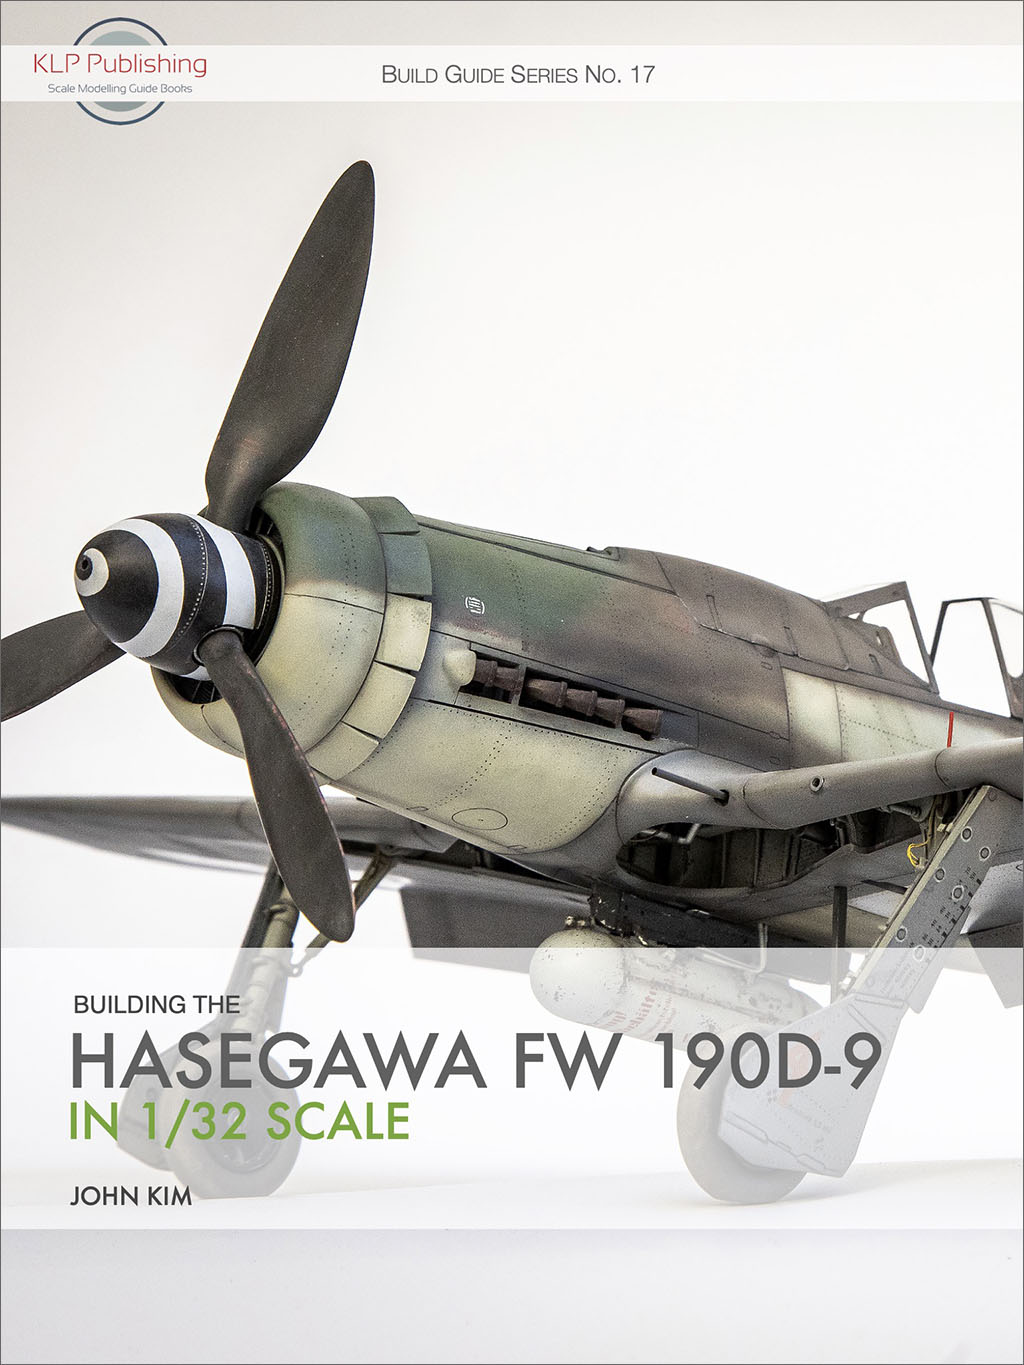
I’m pleased to announce that our latest title, Building the Hasegawa Fw 190D-9 in 1/32 Scale, is now available for immediate purchase and download!

In this 342-page eBook, John Kim guides you through the process of building, painting, weathering, and finishing the Hasegawa 1/32 scale Fw 190D-9 kit. He uses a carefully curated selection of aftermarket products, and cuts his own paint masks for the markings. The result is a stunning model that is both instructive and inspirational.

We’ve also included profile artwork from Eagle Editions and JaPo, along with our usual appendices featuring aftermarket products and reference titles.

The cut files for John’s paint masks have been included as a bonus download, in DXF, Studio3 (for the Silhouette platform), PDF, and SVG formats. And if you don’t have access to a cutting machine, the PDF version could still be printed out and used as a template for cutting out the mask shapes by hand.

And as with all our books, should any updates be required, anyone who purchased a prior version gets lifetime free access to all subsequent updated versions! All new purchasers will of course receive the updated version automatically.

See you all again soon!

Posted on Leave a comment

“Building the Hasegawa Fw 190D-9 in 1/32 Scale” Reaches First Draft!

I’m pleased to report that our latest title in development, Building the Hasegawa Fw 190D-9 in 1/32 Scale by John Kim, has now reached the First Draft stage. The book is already over 300 pages, and promises to be the Gold Standard in Build Guides for this kit.

John Kim’s completed build of the Hasegawa 1/32 scale Fw 190D-9

Stay tuned for an official release announcement in the next couple of weeks!

Posted on Leave a comment

Announcing “Building the Hasegawa Fw 190D-9 in 1/32 Scale”!

I’m pleased to announce that our next title will be Building the Hasegawa Fw 190D-9 in 1/32 Scale by John Kim. This will be the third title that John has authored for KLP Publishing, all covering Luftwaffe subjects in 1/32 scale. Work has begun, with an eye to launching by the end of February.

John’s model is exquisite, and his methodical and fastidious approach to the build will be useful to even the most experienced modeller.

John Kim’s build of the Hasegawa 1/32 Fw 190D-9 as “Brown 4”.

Stay tuned for more updates as they come to hand!

And don’t forget John’s other two titles:

Posted on Leave a comment

“Building the British Phantoms Volume Two” Now Available!

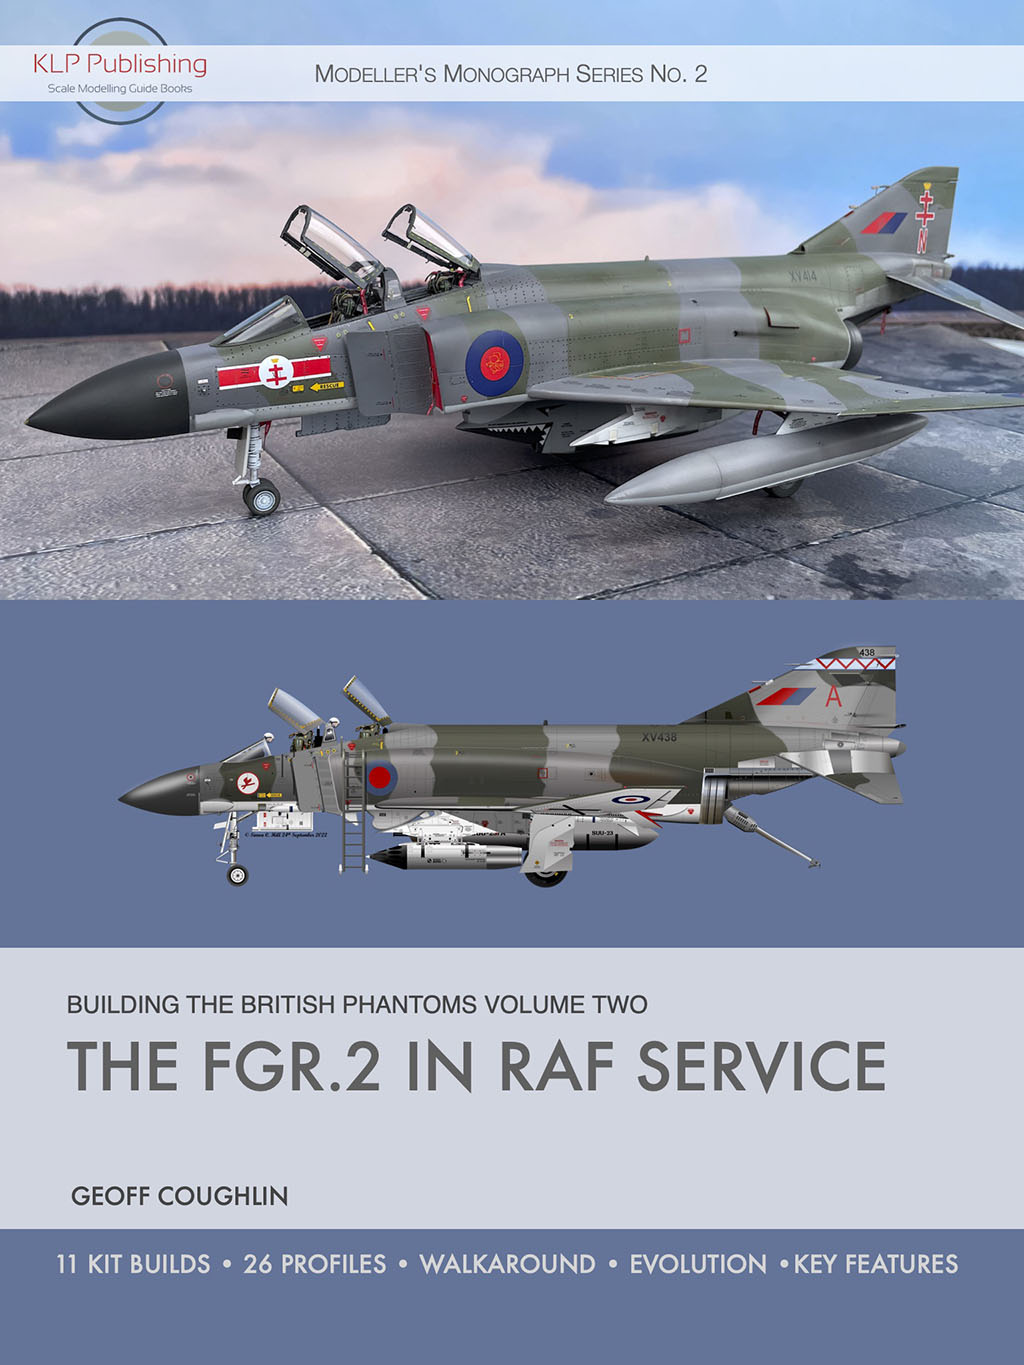
I’m pleased to announce that the second volume in our planned three-volume British Phantom series, Building the British Phantoms Volume Two: The FGR.2 in RAF Service, is now available!

In this massive 595-page eBook, Geoff Coughlin—with the aid of a host of contributors—guides you through the specifics of building the FGR.2 Phantom in RAF service. With 11 kit builds, 26 colour profiles, chapters on the Evolution and Key Features of the FGR.2, along with an extensive 113-page Walkaround section, this book is an essential resource for anyone wanting to build this particular version of the British Phantom.

Also included is a small gallery of FGR.2 model builds, a chapter on special markings, and a list of useful reference resources. Foreword by David Gledhill.

I’m sure you’ll agree that, at just 22 Australian dollars, this really is a bargain!

And as with all our books, should any updates be required, anyone who purchased a prior version gets lifetime free access to all subsequent updated versions! All new purchasers will of course receive the updated version automatically.

Posted on Leave a comment

“Building the British Phantoms Vol. 2” Reaches First Draft!

I’m pleased to announce that our next title, Building the British Phantoms Volume Two, has reached the first draft stage of development. While this makes it sound like a mere halfway point, the book is in fact substantially complete, and now only needs some final revisions and a bit of spit and polish. We’re on track for a release before the end of January.

Not only that, but Volume Two has come in at a smidgen under 600 pages—and we thought Volume One was massive! It’s now our largest-ever publication, edging out Building Race #80 Spitfire Mk XIVe in 1/18 Scale by Peter Castle (565 pages). If you’re familiar with Volume One, then you’ll know what to expect—just more of it!

Geoff Coughlin’s build of the Hasegawa 1/48 Phantom FGR.2, as featured in Volume Two of Building the British Phantoms.

Stay tuned for an official release announcement!

And don’t forget Volume One if you haven’t purchased it yet:

Note: all our prices are in Australian dollars.

Posted on Leave a comment

Announcing “Building the British Phantoms Volume 2”!

I’m pleased to announce that work has begun on the follow-up to Volume 1 of our Phantom series, and will be entitled Building the British Phantoms Volume Two: The FGR.2 in RAF Service. Geoff Coughlin again delivers in style, with 11 kit builds, 26 colour profiles by Simon Hill, Walkarounds of both FGR.2 XV424 and the Martin Baker Mk 7 ejection seat, and chapters on both the evolution and key features of the FGR.2 in RAF service. If you’ve seen Volume One, then you know what to expect—only, Volume Two will be even bigger!

Our launch target is the second half of January 2023, with some wiggle room to allow for the vagaries of the Christmas holiday period.

And if you haven’t checked out Volume One yet, it’s available from our webshop for a mere 20 Australian dollars.

Stay tuned for more news and information as it comes to hand!

Posted on Leave a comment

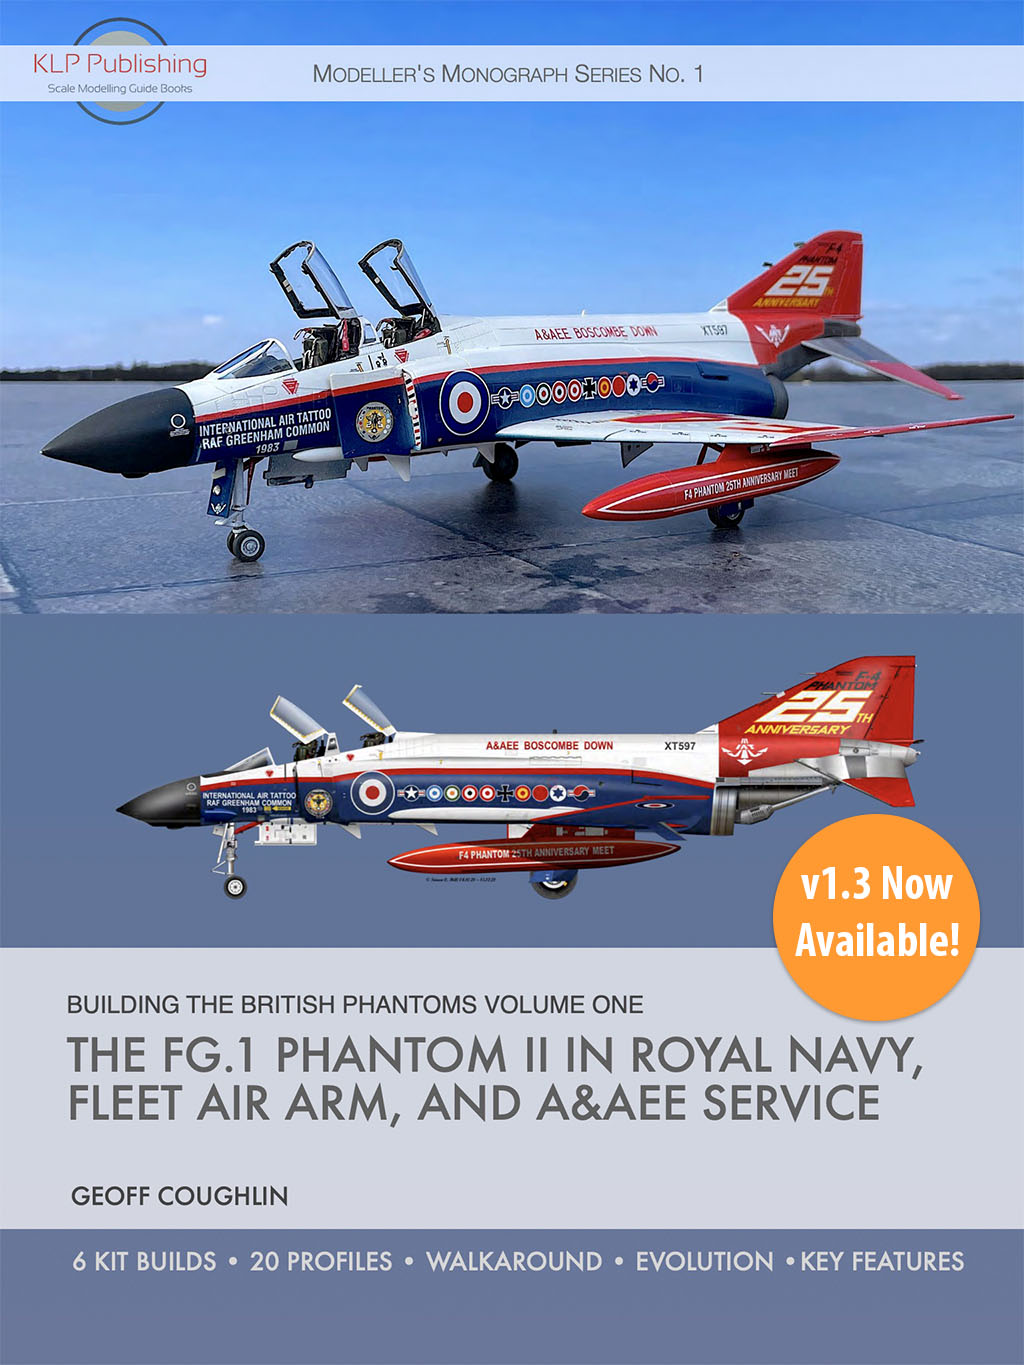
v1.3 of “Building the British Phantoms” Now Available!

Yes, you read that right! Hot on the heels of the v1.2 release of Building the British Phantoms Volume One, Simon Hill, our esteemed provider of profiles, spots an error in one of his contributions. Well, you know the drill: the error has been corrected, and v1.3 is now available!

All new purchasers will automatically receive this new version, while anyone who has already purchased it will be able to download it for free, either from the Downloads section of their account, or using the original link in the order confirmation email. All you need to do is re-download the book to obtain the updated version.

If you have any trouble accessing the new version, please contact me and we’ll get it sorted out.

Posted on Leave a comment

v1.2 of “Building the British Phantoms” Now Available!

I’d like to thank yet another eagle-eyed customer in the form of Rick Godden for spotting a couple of typos in our new book, Building the British Phantoms Volume One. These have been corrected, and Version 1.2 is now available.

All new purchasers will automatically receive this new version, while anyone who has already purchased it will be able to download it for free, either from the Downloads section of their account, or using the original link in the order confirmation email. All you need to do is re-download the book to obtain the updated version.

If you have any trouble accessing the new version, please contact me and we’ll get it sorted out.

We’ll be announcing our next title shortly, so please stay tuned!